You’ll Need:
- Manila folder or card stock size 8” x 10”
- Vintage valentine card
- Self-healing cutting mat
- Pencil
- Eraser
- Metal ruler
- Bone folding tool
- X-Acto knife and/or scissors
- Glue sticks (I use UHU stic in .29 oz small and 1.41 oz large)
Optional supplies for more flair:
- Piece of plastic cut to size (I sourced mine from thrifted photo album pages)
- Masking or decorated tape
- Paper punch
- String, twine or ribbon
- Rubber stamps and inking pad/s
- Stickers
- Vintage stamps or labels
- A good quality pen (Pigma Micron 01, 03 and 05 in black)
- Asst scrap or found papers/wrapping paper/maps/etc.
Note: These will fit size A-7 (5.25" x 7.25") envelopes
Instructions:
1. Working on your cutting mat, measure and cut manila folder or cardstock to 7” by 10”.
2. Measure and using bone folder, fold card in half at 5”.
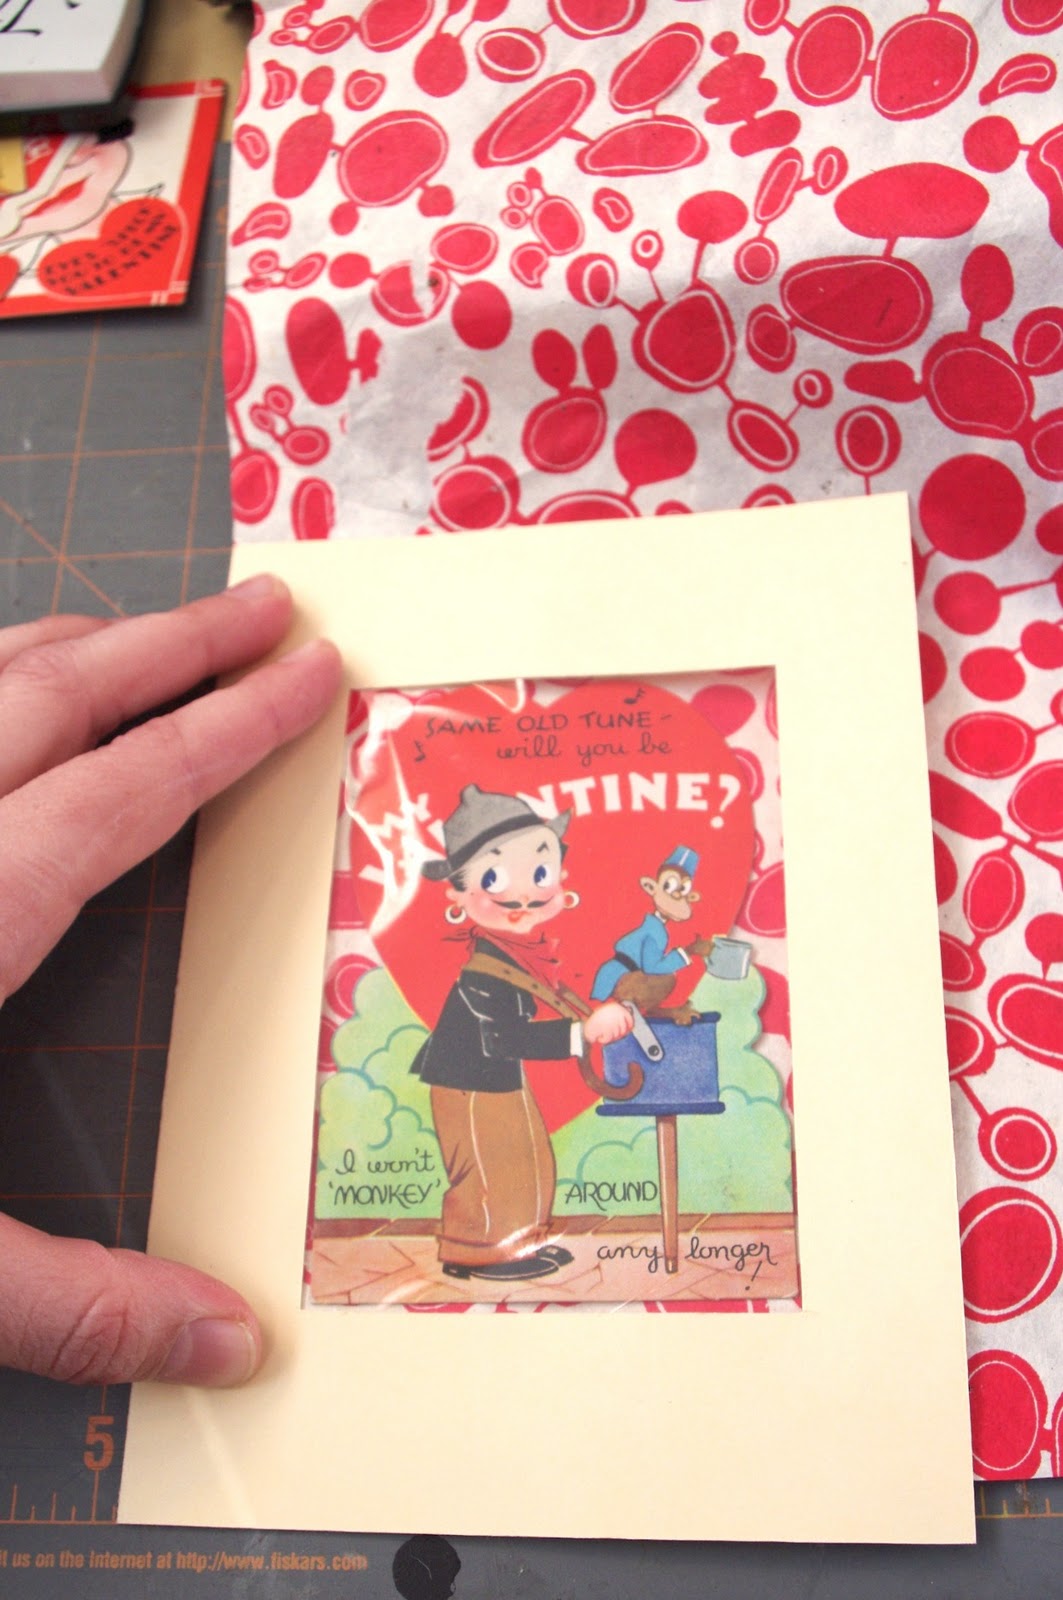
3. Measure and cut out center of front card piece. (You can use the center paper later for an address label or tag so cut carefully). Double check measurements based on your chosen image - opening should be approx 3” x 4 1/2”.
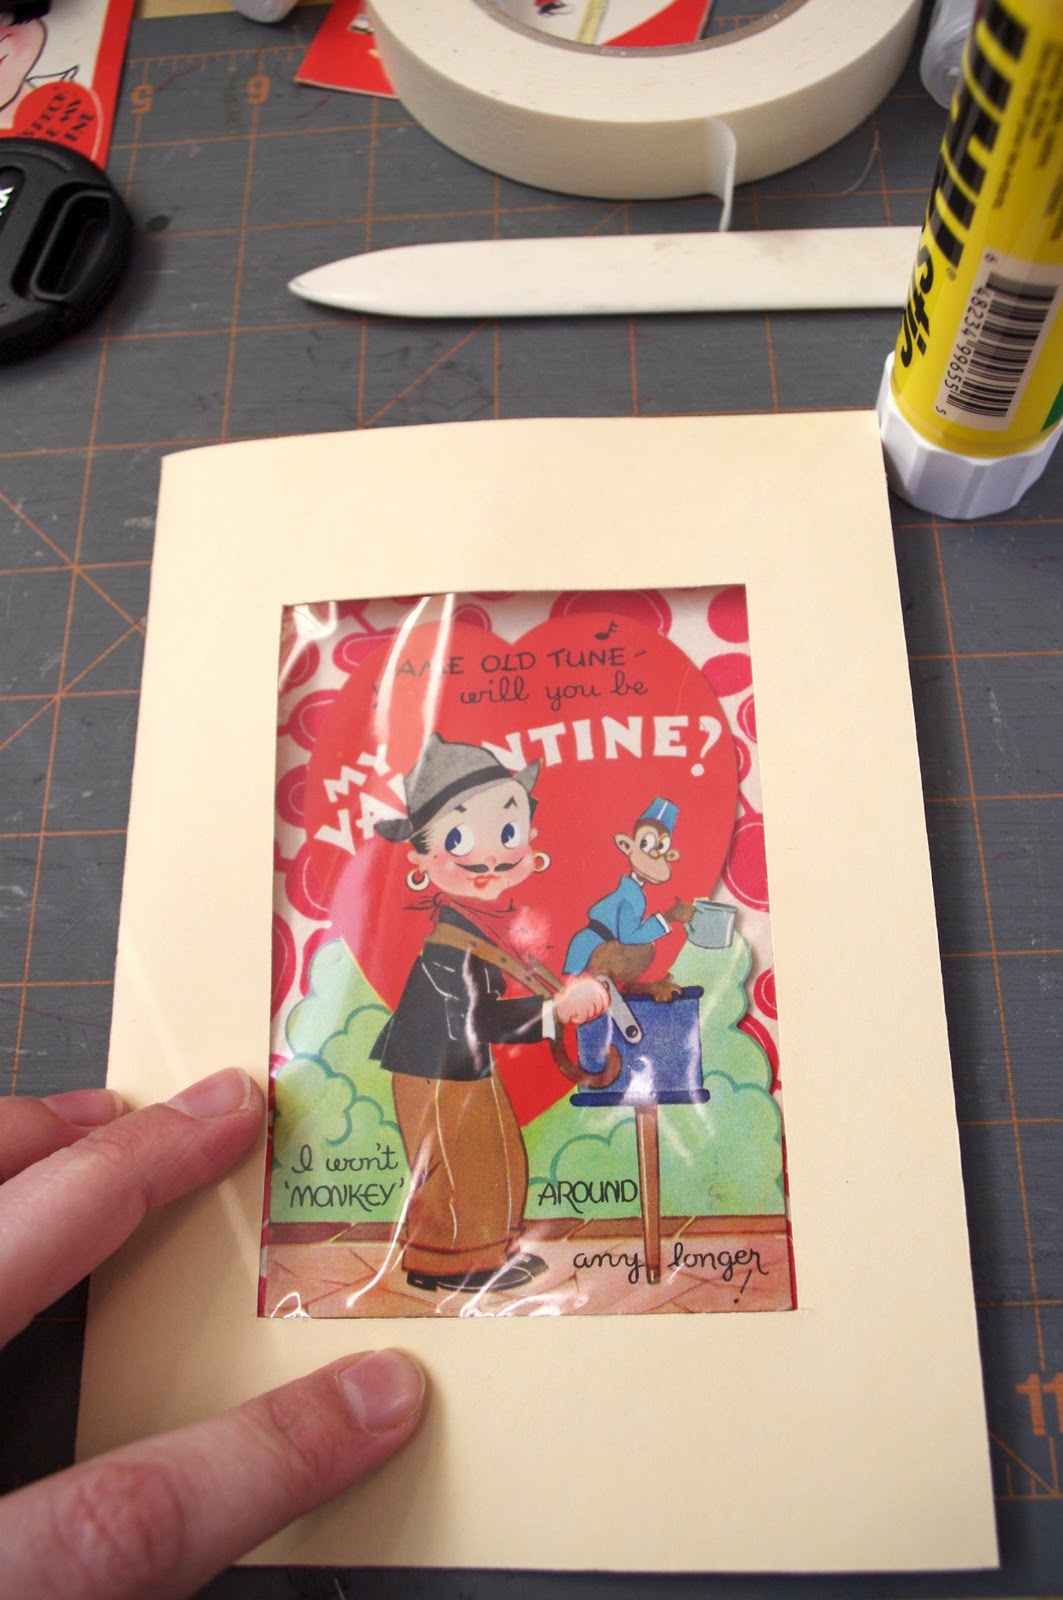
4. IF YOU WANT A PLASTIC “WINDOW“: Clean plastic carefully with a glass cleaner and let dry thoroughly. Measure and cut plastic to fit on the interior left side of the card (the backside of the opening you just cut) - if your opening is 3” x 4 1/2” plastic should be slightly larger. Using glue stick, glue around the inside back of the front piece. Press plastic in place and smooth with bone folder. (For added security and more interest add masking or decorating trim if desired.).
5. Choose a background paper. This will be what the valentine is placed on. Cut background paper to size. It can be as large as the back piece of the card or just larger than the window. Glue background to interior right side of card. Smooth with bone folder.
6. Carefully measure and place valentine on top of background paper on interior right of card, when happy with position glue into place. Smooth with bone folder.
7. You are now going to glue the card together to make the frame, using a glue stick trace around edges, close card and smooth with bone folder.
8. Decorate and mail or give!
For hanging, punch two holes in top of frame and run through with string, twine, ribbon, etc and tie in knot at top.
Additional decorating ideas:
Add stickers!
Decorate the back of the frame.
Use rubber stamps and assorted colored ink pads.
Make a border.
Put vintage postage stamps on the envelope.
Apply photo corners.
Fin.






 1. Make a heart template sized to fit within the dimensions of a standard postcard. Cut out desired number of hearts from colored paper - preferably in pastel conversation heart colors. Refer to actual conversation hearts as needed.
 2. Using red ink and alphabet stamps - accent hearts with various phrases making liberal use of puns and wordplay. Be as trad or as raunchy as you wish depending upon the recipient. Again, refer to hard copy convo hearts as needed.
 3. Cut postcards out of mat board.
 4. Glue hearts onto mat board. (Product recommendation: YES! Paste. I cannot speak to the taste, but it works like a dream on paper craft projects)
 5. Optional: Blingee your postcard with stickers, stamps, photos, etc.


