Showing posts with label instructions. Show all posts

Friday, February 4, 2011

Tutorial: Vintage Valentine Frame Cards

You’ll Need: 

  • Manila folder or card stock size 8” x 10”
  • Vintage valentine card
  • Self-healing cutting mat
  • Pencil
  • Eraser
  • Metal ruler
  • Bone folding tool
  • X-Acto knife and/or scissors
  • Glue sticks (I use UHU stic in .29 oz small and 1.41 oz large)


Optional supplies for more flair:

  • Piece of plastic cut to size (I sourced mine from thrifted photo album pages)
  • Masking or decorated tape
  • Paper punch
  • String, twine or ribbon
  • Rubber stamps and inking pad/s
  • Stickers
  • Vintage stamps or labels
  • A good quality pen (Pigma Micron 01, 03 and 05 in black)
  • Asst scrap or found papers/wrapping paper/maps/etc.

Note: These will fit size A-7 (5.25" x 7.25") envelopes

Instructions:
1. Working on your cutting mat, measure and cut manila folder or cardstock to 7” by 10”.


2. Measure and using bone folder, fold card in half at 5”.


3. Measure and cut out center of front card piece. (You can use the center paper later for an address label or tag so cut carefully). Double check measurements based on your chosen image - opening should be approx 3” x 4 1/2”.


4. IF YOU WANT A PLASTIC “WINDOW“: Clean plastic carefully with a glass cleaner and let dry thoroughly. Measure and cut plastic to fit on the interior left side of the card (the backside of the opening you just cut) - if your opening is 3” x 4 1/2” plastic should be slightly larger. Using glue stick, glue around the inside back of the front piece. Press plastic in place and smooth with bone folder. (For added security and more interest add masking or decorating trim if desired.).


5. Choose a background paper. This will be what the valentine is placed on. Cut background paper to size. It can be as large as the back piece of the card or just larger than the window. Glue background to interior right side of card. Smooth with bone folder.
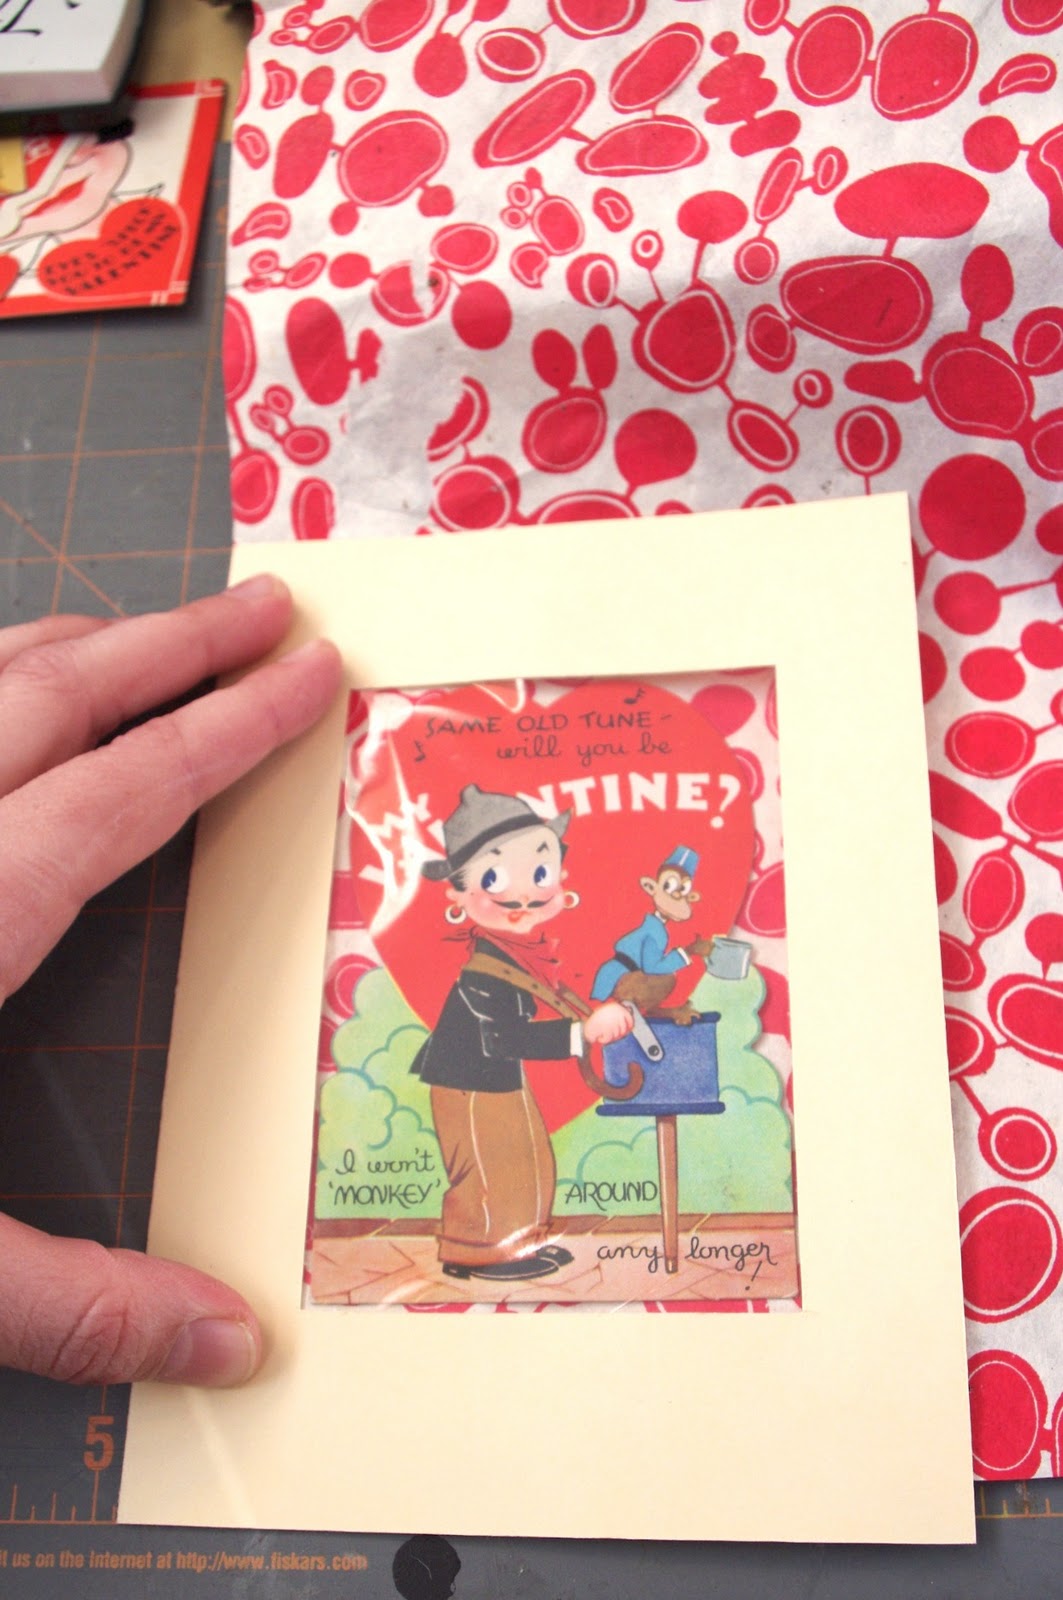


6. Carefully measure and place valentine on top of background paper on interior right of card, when happy with position glue into place. Smooth with bone folder.


7. You are now going to glue the card together to make the frame, using a glue stick trace around edges, close card and smooth with bone folder.
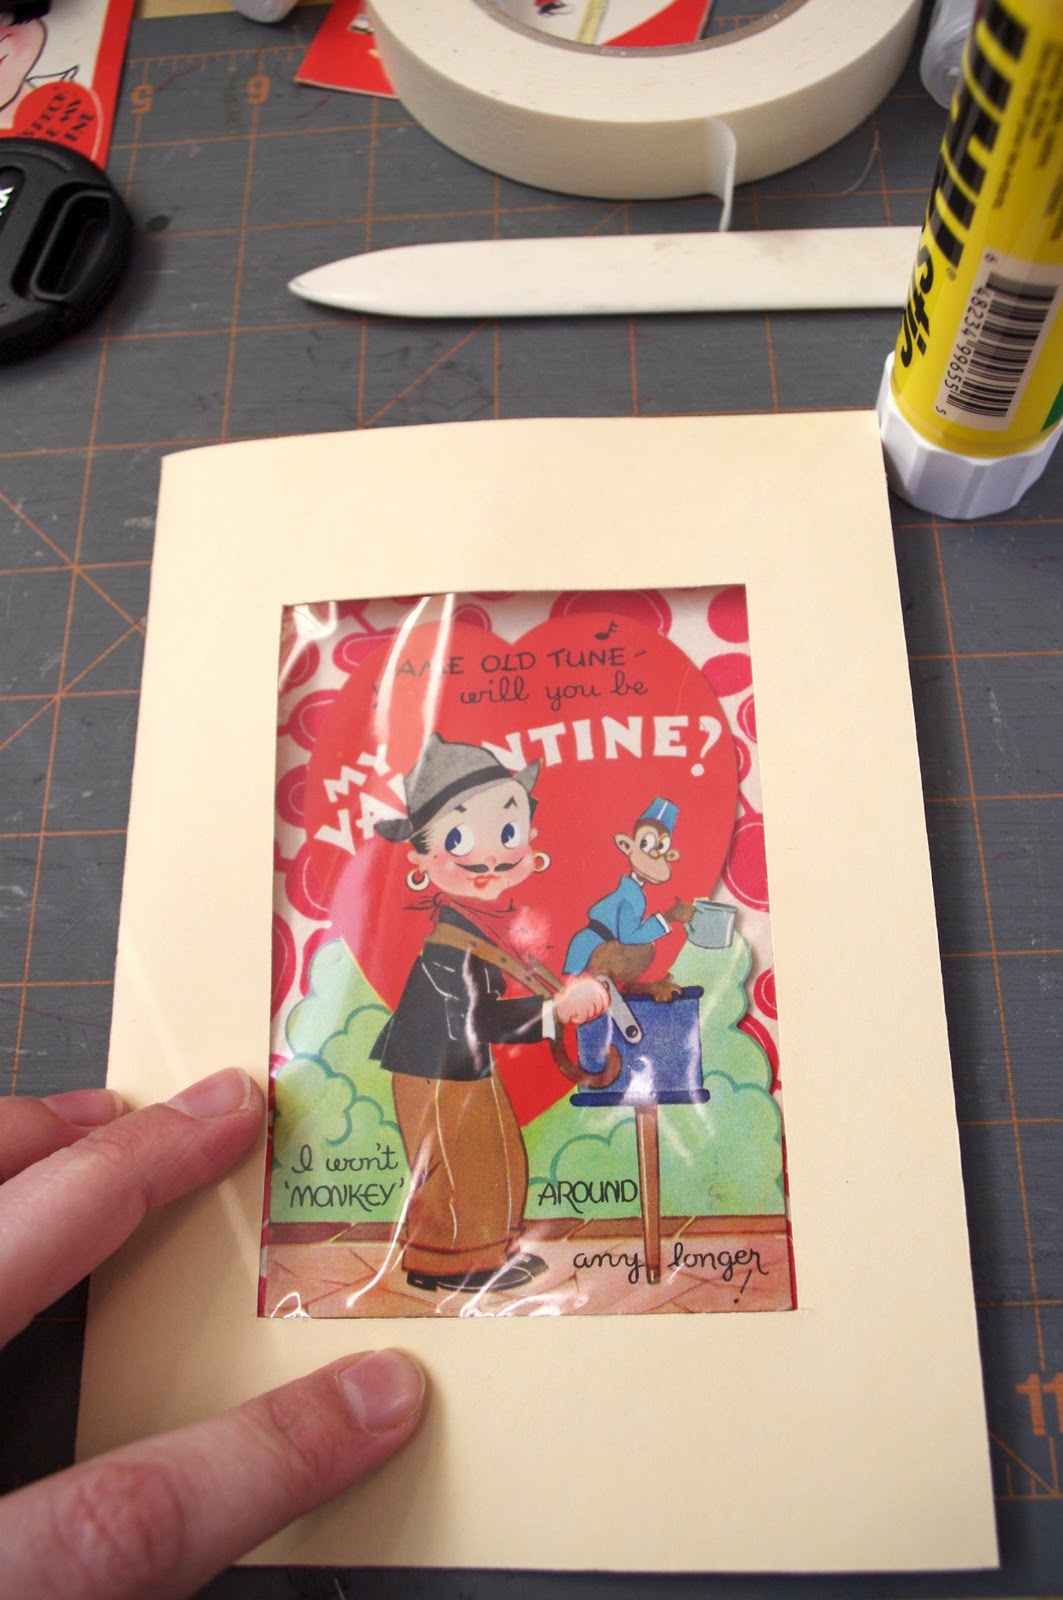

8. Decorate and mail or give! 


For hanging, punch two holes in top of frame and run through with string, twine, ribbon, etc and tie in knot at top.


 Additional decorating ideas:


Add stickers!

Decorate the back of the frame.

Use rubber stamps and assorted colored ink pads.

 Make a border.

Put vintage postage stamps on the envelope.

 Apply photo corners.

 Fin.


Saturday, January 29, 2011

Clown Birthday Banner (Easy "How To" Included)


Stencil word banners are one of my favorite things to make - they just add so much whimsy to any occasion! When I saw this clown themed photographic educational card series at Artifacts (only 50 cents each!) I knew I had to make a clown themed banner for Stevie's birthday. (Yes, it's a tad J.W.G Jr)
1. Choose a stencil set in the size of your choice and trace the needed letters. I used my 5" set here but how darling would a mini banner be? 
2. Carefully cut out letters on an appropriate surface such as a self-healing mat or a piece of old cardboard. My preferred tool for cutting is an Exact-O knife, although small paper scissors work too.
3. Punch two holes in the top of each letter or flag and string in reverse order with ribbon, twine, etc. Helpful hint: leave your self extra length for hanging.
4. Hang banner and arrange letters evenly. 
5. Enjoy!

Thursday, January 27, 2011

Polaroid Land Camera Model 95A + Accessories


Here is the latest addition to my Polaroid camera collection! It is a Speedliner Land Camera Model 95A. This version was made between 1954 and 1957. This camera is a real beauty and in almost mint condition. The camera case is a leather embossed to look like ostrich - very fancy!


The camera and all of these instructional manuals and accessories came in a brown leather Polaroid "Master Case". Originally the case and the other accessories were sold separately.

Polaroid Filter Kit #541 - "exciting special effects with clouds, reflections, distant scenery."

Close-Up Lens Kit #540 - "Built-in steel measuring tape gives correct adjustments for camera focus and lens attachment."

Polaroid - G.E. Exposure Meter, PR-22 - "Compact photoelectric meter makes correct exposure simple and certain."

Various instructional, informative pamphlets including How To Make Good Pictures with your Polaroid Speedliner Land Camera Model 95A" were I got the info quoted above. Sadly the Flash Gun is missing from the set - I'll have to look for a replacement.

There are conversions to allow use of 120 film for this model which I will be researching. I saw one that used Legos! Do any of you readers have any advice on converting to a 120 format?