Showing posts with label paper. Show all posts

Monday, May 23, 2011

Tickle My Keys : Sign for the Northside Public Piano

The list of local Northside businesses that donated to the project is handwritten on vintage penmanship pratice paper, the paper frame layers are made from old manila folders and a sheet music booklet titled "Boogie Is My Beat". There are five layers of paper products (all upcycled) which make up the sign. The boogaloo hands and keyboard were from the cover page of the sheet music. 


Illustrations from the sheet music booklet promoting more boys playing piano and less t.v.dinners. Right?

Here is the table of contents from the "Boogie Is My Beat" sheet music booklet I used - hopefully these boogie-woogie beats will infuse the Northside with some "Mutiny on the Boogie"! 

Sunday, February 27, 2011

Miss Havisham's Paper Flowers


A current crafting obsession: handmade coffee and/or tea stained paper flowers. I cannot stop making these paper craft blooms - dyed, collated, trimmed, displayed. So many uses and ideas...

Grouped in a large arrangement as the focal point of a coffee table (shown here with dried thistles)...

Tucked into a bookcase to add texture, dimension and color (that is a brown bear skull, a x-mas gift!)...   

As a single bloom in a unique bud vase, in this example a ceramic faux stone...

Strung together as a bunting for a celebration or just for fun (bunting = FUN!!!)...

 A bouquet in the entryway - shown here with dried cock's comb (don't say cock), pheasant feathers and twigs...

 As an accent on a headband - this is a great conversation starter (or ender)...

As a decorative brooch or corsage!

Don't you feel these flowers could have been picked straight out of Miss Havisham's garden? They are even highly flammable!

Thursday, February 10, 2011

2-10-11: MORE Heartfelt Handmade Inspiration!

Three new additions to my handmade valentine collection:

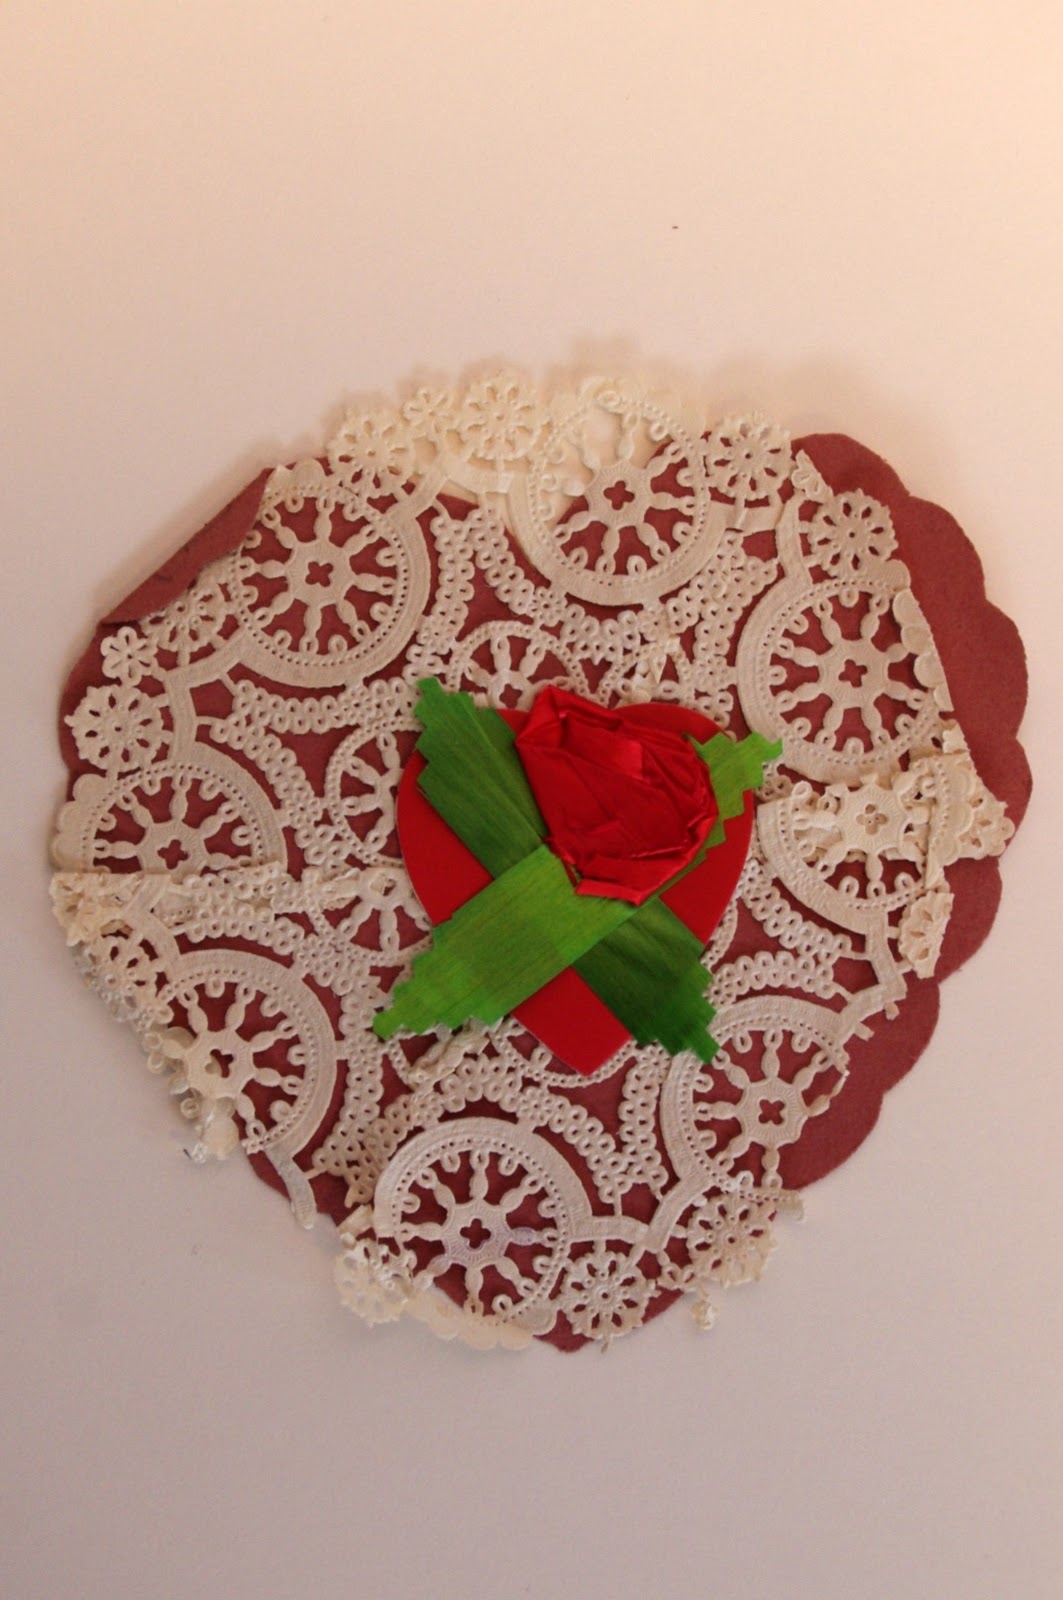
Crushed ribbon red rose and green leaves.

"Be My Valentine". The tiny heart in the center says: "Junior I Love You".

"I love you" pastel colored cupcake liner hearts and flower.

Paper Photo Frame: Handmade Valentines


Monday, January 31, 2011

1-29-11: Stevie's Birthday - Presents


To make the little Huckleberry photo frame flair I cut a Polaroid I had taken with my SX-70 to fit in the sticker frame (which was from a scrapbooking sticker pack I've had for years). The wood grain gift tag is contact paper applied to a manila folder scrap.


For this present I tucked a paper frame (SX-70 image size) I made with a Polaroid of our dog Buddy under the plaid ribbon. The paper for the frame is a hi-lo mix of thrifted manila folder and fancy handmade paper from the art supply store. I also used vintage photo corners, rubber stamp letters and a color photocopy of an antique label.


This really was a fragile glass gift - I have a huge packet of those vintage mailing stickers which are not only practical but look good too! The guinea pig gift tag was from the same educational set as the clowns for the banner. I stamped him with my typewriter letter, isn't he the cutest? I love his widdle feet and kooky hair.

The portraits of our dogs Buddy & Huckleberry were wrapped in the guinea pig tag package. Aren't they handsome in their little yellow bows? Did you know you can order prints from Snapfish and pick them up at your local Walgreen's usually within an hour? It is genius! The document frames are from K-Mart - $15.99 each.

A wind-up birthday robot from my parents to Stevie. Clearly it is going to steal our prescription medications for fuel! Beep-beep-boop!

Saturday, January 29, 2011

Clown Birthday Banner (Easy "How To" Included)


Stencil word banners are one of my favorite things to make - they just add so much whimsy to any occasion! When I saw this clown themed photographic educational card series at Artifacts (only 50 cents each!) I knew I had to make a clown themed banner for Stevie's birthday. (Yes, it's a tad J.W.G Jr)
1. Choose a stencil set in the size of your choice and trace the needed letters. I used my 5" set here but how darling would a mini banner be? 
2. Carefully cut out letters on an appropriate surface such as a self-healing mat or a piece of old cardboard. My preferred tool for cutting is an Exact-O knife, although small paper scissors work too.
3. Punch two holes in the top of each letter or flag and string in reverse order with ribbon, twine, etc. Helpful hint: leave your self extra length for hanging.
4. Hang banner and arrange letters evenly. 
5. Enjoy!

Tuesday, January 25, 2011

Paper Photo Frame: SX-70 Template


Oh my goodness! If I ever get this SX-70 Polaroid instant photo paper frame perfected it will be a modern miracle/feat of crafting endurance. Don't you think the frames could be so darling, though? Just a few more kinks to work out!

Tuesday, January 18, 2011

Pencils, Stickers + Tape!

Adorable pencil toppers!
Happy fun-time pencils!
Cheerful Stickers!
Charming patterned tape!

A few goodies I purchased from Dick Blick (all on SALE!) today. I went in for glue sticks, but who could resist so much temptation?!

(The backgrounds are paper frames I've been making recently - the oval center one is a project from the the fabulous book "Paper + Craft". The rectangle center is a template I made myself. I'm a little bit obsessed with making these! For fun I created a Polaroid sized template too.)